Setting up SPF, DKIM, and DMARC is essential for email authentication, especially when managing multiple accounts or campaigns. These protocols ensure your emails are trusted by recipients and don't end up in spam folders. Here's a quick breakdown:
p=none), then move to stricter policies like quarantine or reject.Challenges include managing SPF lookup limits, ensuring domain alignment, and avoiding misconfigurations. Automation tools like Infraforge simplify these setups, offering features like pre-warmed domains, automated DNS updates, and real-time monitoring.
Key Takeaways:
Properly configured protocols improve deliverability and protect your domain from abuse. For large-scale campaigns, automation saves time and reduces errors.
When managing multiple email accounts, it's essential to create SPF records that authorize all your sending sources while staying within technical limits. Each domain you use for sending emails needs its own SPF record in DNS, accounting for every service that sends email on your behalf.
An SPF record is a DNS TXT entry that starts with v=spf1 and lists all authorized sending servers using specific mechanisms. The key mechanisms you'll use are include:, ip4:, and ip6:.
include: Mechanism: This is used to authorize third-party email services. For example, if you use Google Workspace and SendGrid, your record would include entries like include:_spf.google.com and include:sendgrid.net. Each service you authorize gets its own include: entry.ip4: and ip6: Mechanisms: These allow you to specify individual IP addresses. For instance, if you send emails from your own server with a dedicated IP, you might add ip4:203.0.113.0 to your record.Your SPF record must end with a qualifier that tells receiving servers how to handle unauthorized emails. The two common options are ~all (softfail) and -all (fail). Starting with ~all is a good idea when setting up multi-account campaigns, as it lets you monitor results while avoiding the risk of rejecting legitimate emails.
Here’s an example SPF record for a multi-account setup:
v=spf1 include:_spf.google.com include:sendgrid.net include:mail.zendesk.com ip4:203.0.113.0 ~all
This record authorizes Google Workspace, SendGrid, Zendesk, and one dedicated IP to send emails on your behalf.
Before creating your SPF record, make a list of all services that send emails using your domain. This includes marketing platforms, CRMs, support tools, internal servers, and any third-party services. Missing even one can lead to authentication failures.
Organize your record by grouping services logically. For example, list marketing tools first, followed by CRMs, support platforms, and internal servers. This structure simplifies auditing and maintenance as your setup grows.
Once your SPF record is structured, you’ll need to address DNS lookup limits.
SPF records are limited to 10 DNS lookups to prevent delays in email authentication. For multi-account setups, this limit can quickly become a challenge because every include: entry counts as a lookup.
For example, if you’re managing accounts across Google Workspace, SendGrid, Mailchimp, Zendesk, and other platforms, you can easily hit the 10-lookup cap. Exceeding this limit causes SPF failures, which can result in rejected emails.
To stay within the limit:
include: entry counts as one lookup, and some services have nested lookups that consume additional slots. For instance, include:_spf.google.com might reference other domains internally, adding more lookups.include: entries.If you’re still approaching the limit, consider these options:
include: entries into direct IP addresses, reducing DNS lookups. However, flattened records require constant updates since service providers change their IPs frequently. Use this as a last resort.
"For each domain you add to Infraforge, we take care of setting up DMARC, SPF, DKIM and custom domain tracking, following industry best practices."
Once your SPF record is optimized, the next step is to verify its accuracy to ensure everything works as intended.
After publishing your SPF record, it’s crucial to verify it to ensure all accounts are authenticated properly. DNS changes can take 24-48 hours to propagate globally, so confirm your updates before launching campaigns.
Here’s how to verify your SPF record:
nslookup or dig allow you to query your SPF records directly. While less user-friendly, they provide raw DNS data for troubleshooting.Common issues to watch for include:
Regular verification is essential, especially after adding new accounts or services. SPF records can break if third-party providers update their infrastructure, so periodic checks help maintain high deliverability for your campaigns.
DomainKeys Identified Mail (DKIM) adds a cryptographic signature to outgoing emails, ensuring the message's integrity and verifying the sender’s authenticity. This extra layer of protection makes it significantly harder for attackers to impersonate your domain, even if they manage to exploit your SPF records.
When managing multiple accounts, it’s a good idea to assign a unique key pair to each account. This isolates security risks and allows for independent key rotations, keeping your system more secure and manageable.
DKIM works by splitting responsibilities between a private key and a public key. The private key stays on your mail server and signs outgoing emails, while the public key is added to your DNS records so recipient servers can verify the signature.
Most email delivery platforms, like SendGrid or Zendesk, simplify this process by offering built-in DKIM key generation through their dashboards. For multi-account setups, you’ll need to generate a separate key pair for each account or domain. Each key pair uses a selector - a label that identifies the specific key in use. The selector is included in your DNS record name, formatted like this:
selector._domainkey.yourdomain.com
For clarity, use selector names that reflect the account or purpose, such as "marketing" or "sales." Once generated, the public key is published in your DNS as a TXT record, using a format like this:
v=DKIM1; k=rsa; p=[your-public-key-here]
Make sure the key is copied in its entirety to avoid errors. To publish the DKIM record, log into your DNS provider and create a new TXT record. The record name should combine your selector and domain, such as marketing._domainkey.yourdomain.com. If you’re managing multiple domains, you’ll need to publish records for each domain. For multiple selectors under the same domain, create individual TXT records for each one.
Keep in mind that DNS updates can take 24–48 hours to propagate. During this time, DKIM signatures may not validate, so plan your changes accordingly.
If you’re using Infraforge, the platform automates the entire process, from generating DKIM keys to publishing DNS records. This includes configuring DMARC and SPF, ensuring domains and mailboxes are ready in minutes. As Silver L, CEO of Infraforge, put it:
"What I like about Infraforge is its ease of use and quality of support."
Once your records are published, proper key management becomes critical for maintaining email security.
After setting up DKIM, it’s important to manage your keys carefully to maintain their security.
In multi-account setups, stagger key rotations across accounts to prevent widespread disruptions. Document each rotation, including dates, selectors, and any issues encountered, to streamline future audits and troubleshooting.
Before launching email campaigns, take the time to verify your DKIM setup. One simple method is to send a test email to [email protected]. They’ll reply with a detailed report showing your email authentication status, including DKIM validation results.
You can also use DKIM record checkers available through various email authentication tools. These platforms let you input your domain and selector to confirm that the record is present, correctly formatted, and contains a valid public key. Be sure to test every domain and selector in your setup.
For more thorough testing, create a chart listing all your domains, selectors, and email accounts. Work through each combination by sending test emails and verifying that DKIM signatures pass. You can also inspect email headers in your client (look for options like "Show original" or "View source") to check for entries like "DKIM: PASS" alongside your domain and selector. If DKIM fails, the headers often include error messages to help identify the problem.
Here are some common DKIM issues and their causes:
To resolve these issues, double-check your DNS records with a DKIM checker and ensure your mail server configuration matches your DNS setup. Confirm that the private key being used corresponds to the public key in your DNS.
For larger organizations managing multiple accounts, automated monitoring tools can periodically test DKIM signatures and alert you to any failures. This helps you catch potential issues early, before they affect email deliverability. Some platforms even offer dashboards that provide an overview of DKIM pass/fail rates, making it easier to monitor your email authentication health.
DMARC brings SPF and DKIM together by requiring their authentication to align with the visible From address. This alignment ensures that spoofing attempts fail, even if attackers manipulate the Return-Path or signing domains. For DMARC to pass, either SPF or DKIM must succeed, and the domain used by that protocol must match the From domain. If the Return-Path domain or DKIM signing domain doesn't align with the visible From address, DMARC will fail, even if SPF and DKIM pass individually. In multi-account setups, where different accounts might use various servers or third-party services, ensuring alignment across all accounts is essential for security and deliverability.
Before setting up DMARC, confirm that SPF and DKIM are properly configured across all accounts. DMARC relies on at least one of these protocols being active and aligned with the From address to function correctly.
Here’s how to create and configure a DMARC record for your domains.
A DMARC record is added as a DNS TXT entry at _dmarc.yourdomain.com with the following format:
v=DMARC1; p=[policy]; rua=mailto:[address]; ruf=mailto:[address]; fo=1
Let’s break down the components:
The policy setting is key to your DMARC configuration. There are three options:
For multi-account campaigns, a single DMARC record at the domain level can cover all accounts using that domain. If subdomains or different domains are used, separate DMARC records must be created at each subdomain's _dmarc prefix.
To publish a DMARC record, log into your DNS provider and create a new TXT record. Name it _dmarc (or _dmarc.yourdomain.com if required by your provider) and paste your DMARC policy string into the value field.
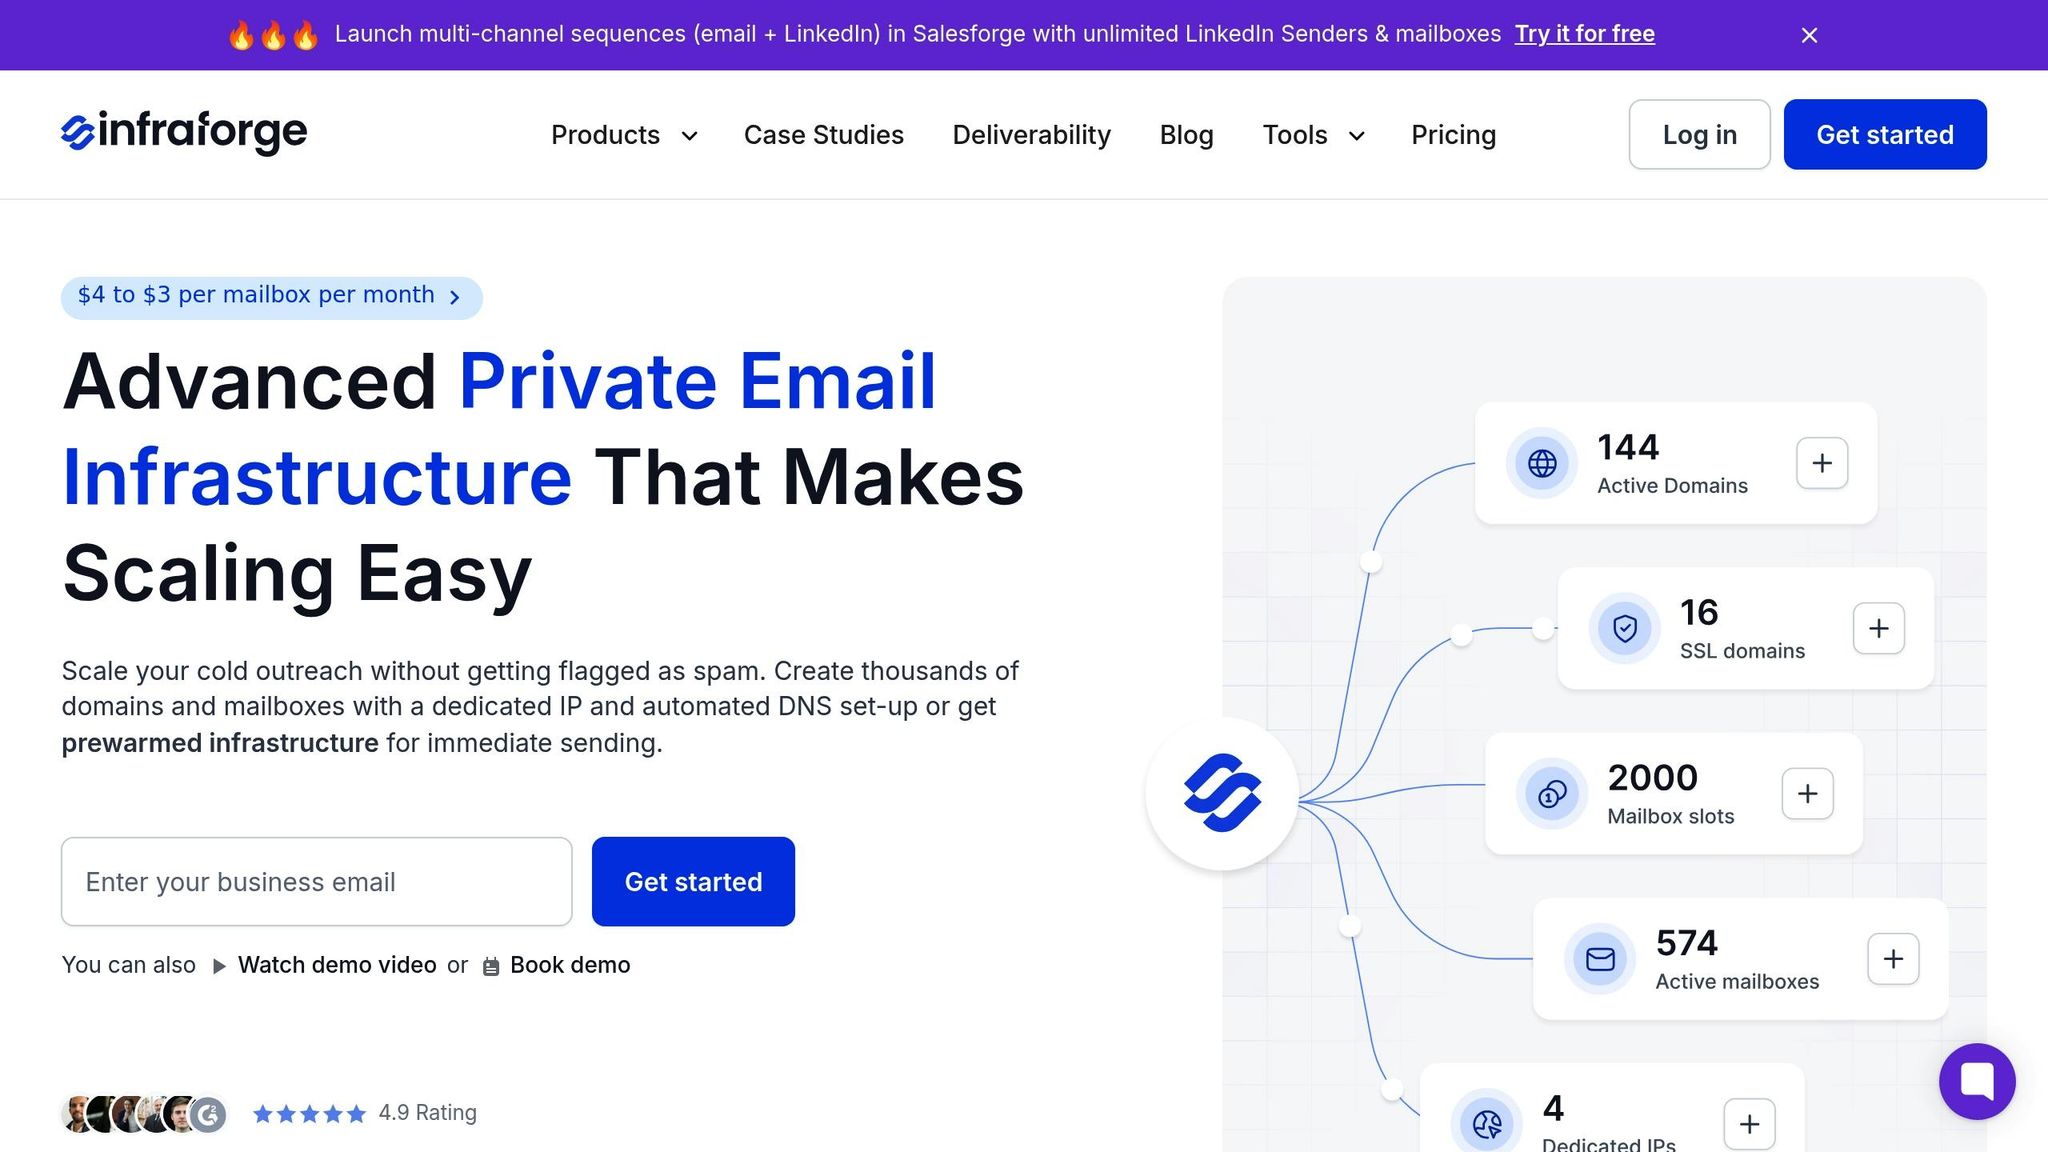
If you use Infraforge, the platform simplifies this process by automatically setting up DMARC, SPF, and DKIM for added domains. Infraforge ensures these records are configured according to industry standards, with domains and mailboxes ready in just five minutes. For multi-account campaigns, it also enables bulk DNS updates, streamlining DMARC and other record management.
After publishing your DMARC record, verify its functionality using DMARC record checkers or by sending a test email to [email protected], which provides a detailed report on SPF, DKIM, and DMARC results.
Once your DMARC record is live, enable reporting to monitor email authentication across all accounts.
DMARC offers two types of reports:
rua tag.ruf tag.To set up reporting, include email addresses in your DMARC record using the rua and ruf tags. Multiple addresses can be added by separating them with commas:
rua=mailto:[email protected],mailto:[email protected]
Ensure the specified email addresses are actively monitored. Aggregate reports arrive daily, while forensic reports are sent immediately after failures. Regularly reviewing these reports is essential for maintaining email authentication across your accounts.
For larger organizations managing multiple accounts, maintain a centralized inventory of all services sending emails on behalf of your domains. This helps cross-reference DMARC reports with known senders and quickly identify unauthorized or misconfigured services.
When analyzing aggregate reports, focus on the ratio of passing to failing emails from each source. If a legitimate service has a high failure rate, check if its Return-Path domain matches your From domain and ensure it’s included in your SPF record or configured with proper DKIM signing. For forensic reports, investigate specific failures to identify issues like SPF lookup limit exceedance, DKIM mismatches, or alignment errors.
Infraforge offers tools like real-time deliverability monitoring and alerts to help maintain high deliverability at scale. Its Masterbox feature provides a unified view of all emails across accounts, making it easier to track authentication and deliverability alongside DMARC report data.
Rolling out DMARC policies should be done in phases to avoid disrupting legitimate email delivery. Starting with a strict policy like p=reject too early can cause legitimate emails to be blocked if your setup isn’t perfect. A phased approach ensures a smooth transition while strengthening email security.
Phase 1 (Monitoring): Start with p=none for 1–2 weeks to collect data on authentication results without affecting delivery. Use this period to identify and fix configuration issues, such as missing SPF includes, misaligned DKIM signatures, or Return-Path domains that don’t match the From domain.
Phase 2 (Quarantine): Once legitimate emails are passing authentication across all accounts, switch to p=quarantine for 2–4 weeks. This policy sends failed emails to spam folders, allowing you to monitor the impact. Address any issues that arise during this time, as recipients can still recover emails from spam folders.
Phase 3 (Reject): After verifying that all legitimate accounts are properly configured, move to p=reject. This policy blocks emails that fail DMARC entirely, offering the highest level of protection against spoofing and phishing attempts.
The timeline for these phases may vary based on the complexity of your setup and the number of third-party services involved. If you use multiple email platforms - such as marketing tools, CRMs, or support systems - you may need extra time in each phase to ensure proper configuration.
Throughout the process, monitor DMARC reports closely and maintain clear communication with teams managing email accounts. Ensure everyone understands the requirements and knows how to verify their accounts are passing DMARC before advancing to stricter policies.
Note: Keep SPF lookup limits in mind to maintain DMARC functionality across accounts.
Infraforge simplifies this entire process, automating phased rollouts for efficient multi-account management.
Building on the earlier discussion about SPF, DKIM, and DMARC, this section dives into common authentication challenges in multi-account campaigns. These issues often arise from technical constraints in SPF, DKIM misconfigurations, or conflicting DMARC policies across accounts. Knowing how to quickly identify and resolve these problems is key to keeping your emails out of spam folders and in your recipients' inboxes.
Every third-party email service you use - whether it’s SendGrid for transactional emails, Google Workspace for internal communication, Zendesk for support, or marketing platforms - requires an include statement in your SPF record. Each include triggers a DNS lookup, and exceeding the 10-lookup limit causes your SPF check to fail, leading to email rejections or spam filtering across accounts.
One solution is SPF flattening, which replaces include statements with the actual IP addresses of your email providers. For instance, instead of using include:_spf.google.com, you would list Google's specific IP ranges directly in your SPF record. However, this approach requires ongoing manual updates whenever a provider changes its infrastructure.
A more efficient option is to streamline your email services. Audit your SPF record and remove unused services that no longer send emails for your domain. If you’re juggling multiple platforms for similar purposes, consolidating to a single provider can help reduce DNS lookups.
For more complex setups, advanced SPF tools like Red Sift's OnDMARC Dynamic SPF or Valimail's solutions can manage DNS lookups more effectively without requiring manual updates.
Platforms like Infraforge simplify this process by automating DNS setups, ensuring SPF configurations stay within lookup limits. Their bulk DNS update feature makes it easy to implement changes across your entire infrastructure, saving time and reducing errors.
Next, let’s tackle common DKIM-related challenges to maintain consistent authentication.
DKIM signature issues in multi-account setups usually stem from:
k1) but your DNS record is set to another (e.g., default), DKIM verification will fail.d= domain in the DKIM header) doesn’t match the From address domain. This often happens with third-party email services that sign with their own domains instead of yours.To troubleshoot DKIM issues, send test emails to [email protected], which helps identify problems quickly. Additionally, use DKIM record checkers to confirm that your DNS records have propagated correctly.
When setting up DKIM records as CNAME entries, ensure proxying is disabled for each CNAME record. Some DNS providers, like Cloudflare, enable proxying by default, which can interfere with DKIM verification.
Infraforge automates DKIM setup for each domain, reducing the risk of errors and ensuring proper configuration in just minutes. This eliminates the technical headaches that often come with managing DKIM in multi-account environments.
With DKIM issues addressed, let’s focus on harmonizing DMARC policies across subdomains.
DMARC policy conflicts often arise when managing multiple subdomains or accounts with varying authentication needs. DMARC requires domain alignment - SPF or DKIM must pass, and the domain used must match the From address domain.
In multi-account setups, challenges occur when sending emails from subdomains like sales.company.com, support.company.com, and marketing.company.com. Each subdomain needs its own properly aligned SPF and DKIM configurations. If the Return-Path domain or DKIM signing domain doesn’t align with the From address, DMARC will fail even if SPF and DKIM pass individually.
The solution is to create individual DMARC records for each subdomain. This allows for granular control and tailored security settings for each account. Ensure that each subdomain has aligned SPF and DKIM configurations matching its From address.
Another common issue arises when organizations set strict parent domain policies (e.g., p=reject) before subdomains are fully configured. To avoid this, configure DMARC to send aggregate reports to a centralized monitoring address. These reports provide insights into sender compliance, highlighting areas that need fixes before tightening policies.
Remember, DNS providers allow only one SPF record per domain. If multiple SPF records exist, merge them into a single record using SPF merge tools. Duplicate SPF records can create conflicts and lead to failures.
Infraforge simplifies DMARC setup by automating configurations and applying consistent policy changes across multiple domains. Its bulk DNS update feature and workspace organization tools help manage domains and mailboxes efficiently, reducing the risk of overlapping or conflicting policies.
Managing SPF, DKIM, and DMARC settings across multiple email accounts manually can be a slow and error-prone process. Infraforge takes the hassle out of this by automating the entire setup, reducing what used to take hours into just minutes. It’s built to handle the complexities of multi-account campaigns with ease, offering a scalable solution to some of the most common challenges.
Infraforge simplifies complex configurations through automated DNS management, removing the need for manual record creation. It handles SPF, DKIM, and DMARC setup and updates automatically, ensuring that authorized senders are properly managed and preventing SPF lookup limit issues that can lead to authentication failures.
Dedicated IP provisioning ensures that each account has its own unique IP address. This isolates the reputation of individual campaigns, so a problem with one doesn’t drag down the others. Additionally, multi-IP provisioning allows you to spread email volume across several IPs, helping you maintain healthy sending patterns and avoid spam filters.
Domain masking adds another layer of security by allowing emails to appear as if they’re coming from branded domains while keeping the underlying infrastructure protected. SSL encryption further safeguards your authentication setup from potential tampering.
One standout feature is pre-warmed domains and mailboxes, which address the issue of new domains lacking a sending history. Infraforge automates the warm-up process, building a positive email reputation before any outreach begins. This eliminates the usual 2-4 week delay for manual warm-ups.
"Infraforge quickly helped to solve a challenge regarding email deliverability. What I like about Infraforge is its ease of use and quality of support." - Silver L, CEO
Real-time deliverability monitoring offers insights into SPF, DKIM, and DMARC performance. A unified dashboard aggregates authentication data from all accounts, making it easy to spot and fix issues before they impact deliverability. Real-time alerts notify you of any failures, allowing for immediate action.
For larger campaigns, the Infraforge API is a game-changer. It provides programmatic access to all configuration functions, enabling bulk deployment of authentication records. This is especially useful for organizations managing hundreds of accounts, cutting deployment time from weeks to just hours.
Here’s how Infraforge stacks up against traditional manual setup processes:
| Aspect | Manual Setup | Infraforge |
|---|---|---|
| Setup Time per Account | One hour per account | Minutes for entire campaigns |
| SPF Lookup Management | Prone to exceeding 10-lookup limit | Automated management prevents lookup issues |
| DKIM Key Management | Manual generation and rotation | Automated key generation and alignment |
| DMARC Configuration | Manual setup for each account | Automated policies with centralized reporting |
| Error Rate | High due to manual mistakes | Low with validation checks before publishing |
| Monitoring | Manual report checks | Unified dashboard with real-time alerts |
| Scaling | Time-intensive for each account | Bulk deployment via API |
| IP Management | Shared IP risks | Dedicated IPs with automated provisioning |
| Warm-up Process | 2-4 weeks per domain | Pre-warmed domains ready immediately |
| DNS Updates | Manual updates with delays | Automated bulk updates with verification |
For example, setting up 50 accounts manually could take around 50 hours, not including troubleshooting. With Infraforge, the same task can be completed in under an hour, thanks to its automated tools.
Beyond time, Infraforge significantly reduces errors that can harm email deliverability. A misconfigured SPF record or a poorly aligned DKIM key can lead to emails being rejected or flagged as spam. Infraforge prevents these issues by validating configurations before publishing, ensuring everything is set up correctly.
Infraforge doesn’t stop at authentication. It’s part of The Forge Stack, a suite of tools designed to optimize email outreach from start to finish. Here’s how the ecosystem works:
Infraforge’s API-based design also allows for custom integrations with business intelligence tools. This lets you correlate authentication metrics with campaign data - like open rates and clicks - providing actionable insights for improving both infrastructure and strategy.
With transparent pricing and tools that scale with your needs, Infraforge offers a streamlined approach to managing email campaigns. You can explore their pricing calculator at https://www.infraforge.ai/pricing to find the right setup for your organization.
Getting SPF, DKIM, and DMARC configured correctly for multi-account email campaigns isn’t just a technical formality - it’s the backbone of successful email outreach. Without proper authentication, even the most thoughtfully written emails can end up buried in spam folders. This underscores the importance of the best practices we’ve outlined for SPF, DKIM, and DMARC configuration.
Manually configuring SPF, DKIM, and DMARC for multiple accounts can be time-consuming and error-prone. A single mistake - like a misconfigured SPF record or a mismatched DKIM key - can lead to emails being flagged as spam or rejected altogether, derailing your entire campaign.
If you’re managing multiple accounts, scaling your campaigns means prioritizing automation. Manual DNS configuration, key rotation, and ongoing monitoring can quickly eat up your time, with organizations often spending an hour per account just on the initial setup - not counting troubleshooting and maintenance.
This is where automated solutions become invaluable. Tools like Infraforge streamline the entire process, cutting deployment times from weeks to hours. With features like automated DNS management, dedicated IP provisioning, and pre-warmed domains, Infraforge allows you to focus on campaign strategy instead of getting bogged down in technical setup.
For example, Infraforge’s API enables bulk deployment, and with your first domain and mailbox ready in just five minutes, you can hit the ground running. Their Forge Stack tools - such as Salesforge for outreach, Warmforge for improving deliverability, and Masterbox for inbox management - offer a comprehensive system for managing large-scale campaigns.
To explore how Infraforge can save you time and simplify authentication management, visit https://www.infraforge.ai/pricing. Whether you choose manual setup or an automated solution, the key takeaway is this: implementing SPF, DKIM, and DMARC correctly across all accounts is non-negotiable. Your email deliverability depends on it.
Managing SPF lookup limits can feel tricky when juggling multiple email accounts and services. Exceeding these limits can seriously hurt your email deliverability. That’s where platforms like Infraforge come in handy - they provide an automated DNS setup that optimizes your SPF records. This way, you stay within the allowed lookup limits while keeping your deliverability rates high.
Infraforge doesn’t stop there. It also offers dedicated IPs and pre-warmed domains - tools tailored to support large-scale email campaigns. These features help you maintain strong performance and reduce the risk of being blacklisted, making it easier to scale your outreach efforts with confidence.
Rotating DKIM keys on a regular basis is a crucial step in safeguarding your email security and preventing any misuse of your domains. If you're managing a multi-account setup, here are some best practices to help you navigate the process smoothly:
For those managing large-scale email operations or multiple accounts, tools like Infraforge can help streamline DNS management and automate key rotations. This ensures your emails remain secure and deliverable across all accounts without added complexity.
To make scaling DMARC policies easier, begin with a monitoring-only policy (p=none). This step helps you observe email traffic and spot any issues with legitimate emails. Once you're confident that SPF, DKIM, and DMARC are set up correctly and all legitimate senders are properly aligned, you can move toward stricter policies like p=quarantine or p=reject.
Infraforge takes the hassle out of this process by automatically setting up DMARC, SPF, and DKIM based on industry standards. This reduces setup mistakes and boosts email deliverability, ensuring your campaigns stay effective while shielding your domain from spoofing and phishing threats.